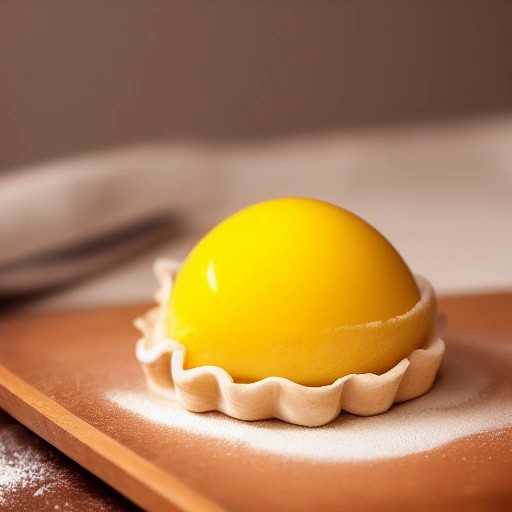
How to Egg Wash Puff Pastry for That Perfect Golden Shine
There’s nothing quite like pulling a tray of golden, glossy puff pastry from the oven—those deep amber tones and that beautiful sheen that makes every bake look professional. That perfect finish isn’t luck; it’s all about the egg wash. Getting it right can transform your pastries from pale and dull to bakery-worthy showstoppers.
An egg wash is simply beaten eggs mixed with a liquid, brushed over pastry before baking. It does two important things: it gives your pastry a rich, golden-brown color, and it helps the surface adhere to itself (perfect for sealing edges). This guide will teach you exactly how to make and apply the perfect egg wash for puff pastry, so you get that gorgeous shine every single time.
Recipe Summary
Prep Time: 5 mins
Cook Time: Varies by recipe
Total Time: 5 mins
Servings: Enough for 1-2 pastry sheets
Difficulty: Easy
Ingredients
- 1 large egg (whole, yolk only, or white only—see variations below)
- 1 tablespoon liquid (water, milk, or cream)
- Pinch of salt (optional, helps break down the egg)
- Pastry brush (silicone or bristle)
How to Make and Apply Egg Wash: Step-by-Step
Follow these simple steps for a flawless finish.
- Choose your egg wash type. For the shiniest finish, use just the egg yolk mixed with cream. For a lighter golden color, use a whole egg with water or milk. For a matte, crispy finish, use egg white with water .
- Whisk thoroughly. In a small bowl, whisk your chosen egg and liquid together until completely combined. A pinch of salt helps break down the egg for a smoother mixture .
- Strain (optional but recommended). For the smoothest application, strain the egg wash through a fine-mesh sieve to remove any lumps or stringy bits .
- Let it rest. Allow the mixture to sit for a minute or two—this lets air bubbles settle, which can cause an uneven finish .
- Apply gently. Dip your pastry brush into the egg wash and gently dab off the excess. Apply a thin, even layer to the pastry using light strokes. Be careful not to let it drip down the sides, as this can prevent the layers from puffing up .
- Use a delicate touch. Too much pressure can deflate the pastry layers. Apply the wash with a very light hand .
- For pastry with intricate cuts. Apply the egg wash only to the top surface, avoiding the cut edges where possible. This prevents the layers from sealing together and stopping the rise .
Egg Wash Variations for Different Finishes
Different ratios give you different results. Here’s a quick guide:
- Whole egg + 1 tablespoon water or milk: Gives a medium golden brown color and a moderate shine. This is the most common and versatile option .
- Egg yolk + 1 tablespoon cream or milk: Creates the richest, shiniest, deepest golden-brown finish. Perfect for pies and pastries where you want a dramatic, glossy look .
- Egg white + 1 tablespoon water: Provides a matte, crisp finish with a lighter color. Good for sealing edges and for breads where a crunchy crust is desired .
- Whole egg + 1 tablespoon oil: Adds extra shine without changing the color too much.
4 Tips for the Perfect Egg Wash Finish
Use chilled or room temperature pastry. Always apply egg wash to cold puff pastry. Warm pastry will absorb the wash rather than letting it sit on the surface to create a shiny crust .
Apply twice. For the best shine and color, apply the egg wash just before baking, and then apply a second coat after the pastry has been in the oven for about 5 minutes. This builds up a deeper, richer color and extra gloss .
Don’t over-apply. A thin, even layer is all you need. Too much egg wash will pool and create dark, uneven patches or prevent the pastry from rising properly .
Use the right brush. A silicone pastry brush works well and is easy to clean, but a high-quality natural bristle brush will give you the most even application .
Common Egg Wash Mistakes to Avoid
- Brushing the cut edges. When you brush the exposed, cut sides of the pastry, the egg wash acts like glue and can seal the layers together, preventing them from puffing up .
- Letting it drip down. If egg wash drips onto the baking sheet, it can caramelize and burn, creating smoke or a burnt smell. It can also stick the pastry to the pan .
- Skipping the salt. A tiny pinch of salt helps break down the proteins in the egg, making it easier to whisk into a smooth liquid .
- Not straining. Unstrained egg wash can have small lumps that create a messy, uneven finish .
What If I Don’t Want to Use Eggs?
No problem! You can achieve a lovely golden color using these egg-free alternatives:
- Milk or cream: Brush on a thin layer of milk or cream. It gives a nice golden color but with less shine than egg wash .
- Butter or oil: Melted butter or olive oil brushed onto the pastry will give a golden, crispy finish, though it won’t be as shiny .
- Honey or maple syrup: Mixed with a little water, these create a beautiful, caramel-colored shine—ideal for sweet pastries .
Frequently Asked Questions
When should you egg wash puff pastry?
Apply the egg wash just before the pastry goes into the oven. If you apply it too early, the liquid will soak into the dough and you’ll lose that glossy shine. Some bakers like to apply a second coat 5 minutes into baking for extra gloss .
Can you egg wash frozen puff pastry?
Yes, but you should brush it on right before baking, while the pastry is still cold and firm. Baking from frozen with an egg wash works well—just add a few extra minutes to your bake time.
Why does my egg wash go brown and blotchy?
This usually happens because you’ve used too much egg wash or because the pastry was warm when you applied it, causing the wash to soak in unevenly. Always use a thin, even layer and keep your pastry chilled .
Can I use egg white only?
Yes, egg white mixed with a little water gives a matte finish that’s great for a crisp, light color. It’s also perfect for sealing edges of turnovers and empanadas .
Can I prepare egg wash ahead of time?
You can, but it’s best used fresh. If you do prepare it in advance, store it in an airtight container in the fridge for up to 24 hours. Just give it a good whisk before using, as it will separate .