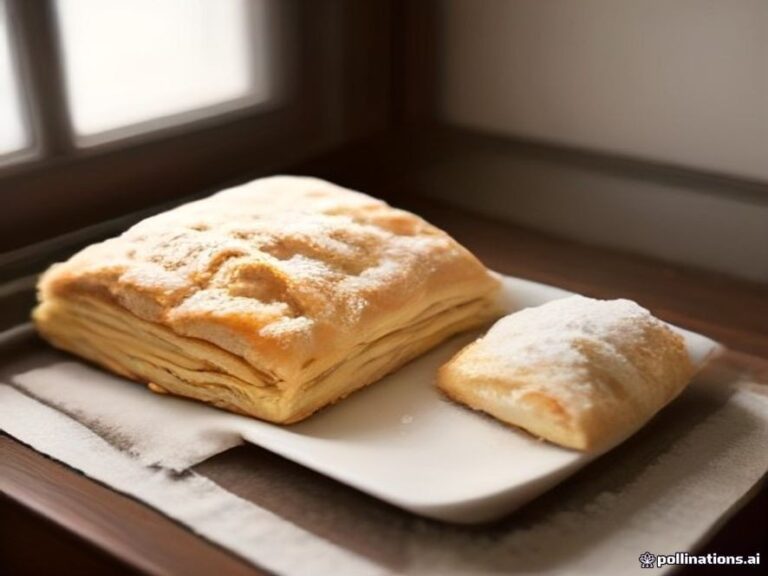

Apple Puff Pastry Tart: Simple, Rustic, Irresistible
Some desserts don’t need bells and whistles. This apple puff pastry tart is proof. Thinly sliced apples — sweet, tender, and lightly spiced — are piled onto a buttery puff pastry base, then baked until the edges are shatteringly crisp and the apples are caramelized at their tips. It’s the kind of dessert that tastes like autumn, no matter what month you make it.
The beauty of this recipe is its simplicity. You don’t need a tart pan or a rolling pin (just a gentle roll to smooth the pastry). The apples can be arranged in neat rows or scattered with abandon. A little honey, a sprinkle of cinnamon, and a few dots of butter are all the finishing touches required. Serve it warm with vanilla ice cream or a drizzle of heavy cream, and try not to eat the whole thing yourself.
Recipe Summary
Prep Time: 10 mins
Cook Time: 18-22 mins
Total Time: 28-32 mins
Servings: 6-8 (one large tart)
Difficulty: Very Easy
Ingredients
- 1 sheet (230g / 8 oz) all-butter puff pastry, thawed
- 2 medium firm-sweet apples (Honeycrisp, Fuji, Gala, or Pink Lady)
- 2 tablespoons granulated sugar
- 1 teaspoon ground cinnamon
- 1 tablespoon honey (plus more for drizzling)
- 1 egg + 1 tablespoon water (egg wash)
- 1 tablespoon unsalted butter, cut into small cubes
- Optional: coarse sugar for sprinkling, powdered sugar for dusting
Step-by-Step Instructions
- Preheat oven to 400°F (200°C). Line a baking sheet with parchment paper.
- Prepare puff pastry. Unfold thawed pastry on a lightly floured surface. Gently roll into a 10×14-inch rectangle. Transfer to the prepared baking sheet.
- Score a border. Using a sharp knife, lightly score a ½-inch border around the entire rectangle. Do not cut through. This creates a raised rim.
- Prick the center. Use a fork to prick the inside area all over. This prevents the center from puffing up too much.
- Prepare apples. Wash apples. No need to peel (optional — peel if desired). Core and slice into ⅛ to ¼-inch thick slices. A mandoline makes this fast, but a sharp knife works fine.
- Arrange apples. Overlap apple slices inside the scored border in neat rows, a fan pattern, or a spiral. Don’t worry about perfection — rustic is beautiful.
- Add toppings. In a small bowl, mix sugar and cinnamon. Sprinkle evenly over the apples. Dot with butter cubes. Drizzle honey over everything.
- Egg wash the border. Brush the outer border (not the apples) with egg wash. Sprinkle the border with coarse sugar if desired.
- Bake. Bake for 18-22 minutes until the pastry is puffed and deep golden brown, and the apples are tender with caramelized edges. Rotate the pan halfway through.
- Cool slightly. Let the tart cool on the baking sheet for 10 minutes. The apple juices will thicken slightly as it cools.
- Serve. Dust with powdered sugar if desired. Drizzle with extra honey. Serve warm or at room temperature.
Tips for the Best Apple Puff Pastry Tart
- Choose the right apples. Use firm, sweet-tart apples that hold their shape when baked. Honeycrisp, Fuji, Gala, Pink Lady, or Braeburn are excellent. Avoid Red Delicious (mealy) or Granny Smith (too tart unless you like that).
- Slice apples uniformly. Thin, even slices (⅛ inch) bake faster and more evenly. A mandoline slicer is ideal. If using a knife, take your time.
- No need to peel (but you can). Apple skin becomes tender and adds color. If you prefer a more delicate texture, peel the apples before slicing. Both work.
- Keep pastry cold. If the dough feels soft before baking, chill the assembled tart for 10 minutes. Cold butter = maximum puff.
- Prevent browning. If you slice apples in advance, toss them with a little lemon juice to prevent oxidation. For this recipe, slice apples just before arranging to keep them fresh.
5 Delicious Variations
- Apple Cranberry Tart: Scatter ¼ cup fresh or dried cranberries over the apples before baking. The tartness is perfect with sweet apples.
- Apple Almond Tart: Spread ¼ cup almond paste or frangipane over the pastry before adding apples. Top with sliced almonds. Use almond extract instead of cinnamon (¼ teaspoon).
- Salted Caramel Apple Tart: Use dark brown sugar instead of white. Drizzle 2 tablespoons salted caramel sauce over the apples before baking. Top with flaky sea salt after baking.
- Apple Pear Tart: Replace one apple with a firm pear (Bosc or Anjou). Slice both and arrange together. The combination is lovely.
- Maple Walnut Apple Tart: Replace honey with maple syrup. Sprinkle ¼ cup chopped walnuts over the apples before baking. Use maple sugar instead of granulated (optional).
Storage & Reheating Instructions
Room temperature: Store in an airtight container for up to 2 days. The pastry will soften, but the flavor remains wonderful.
Refrigerator: Apple tart can be refrigerated for up to 3 days. Bring to room temperature or reheat before serving.
To reheat: Place on a baking sheet in a 350°F (175°C) oven for 8-10 minutes. This re-crisps the pastry beautifully. Do not microwave — it makes the pastry chewy and the apples mushy.
Freezer (unbaked): Assemble the tart on a parchment-lined tray. Freeze until solid, then wrap tightly. Bake from frozen at 400°F for 25-30 minutes, adding egg wash just before baking. Not recommended for baked tart — texture suffers.
Frequently Asked Questions (FAQ)
1. Can I use any apple variety?
Firm apples work best. Honeycrisp, Fuji, Gala, Pink Lady, Braeburn, and Jonagold are excellent. Granny Smith will work but is very tart — add an extra tablespoon of sugar if you use them. Avoid Red Delicious, McIntosh, or any apple that’s soft or mealy — they turn to mush in the oven.
2. Why is my pastry soggy on the bottom?
Apples release juice as they bake. To prevent sogginess: don’t use overripe apples, leave a clean border, and bake on the lowest oven rack for the last 5 minutes. You can also sprinkle 1 tablespoon of ground almonds or breadcrumbs over the pastry before adding apples — they absorb excess moisture. For very juicy apples, add 1 teaspoon of cornstarch to the sugar mixture.
3. Should I peel the apples?
It’s optional. Unpeeled apples add color, texture, and nutrients. The skin softens during baking and is not tough. If you’re serving this tart to guests who might be put off by peels, peel the apples. For a rustic, homey look, leave the peels on. Both are delicious.
4. Can I make mini apple tarts instead of one large one?
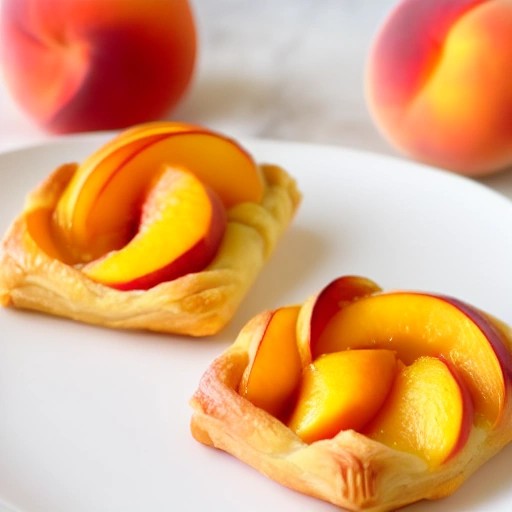
Yes. Cut the puff pastry into 6-8 smaller rectangles or squares. Score a border on each. Divide the apple mixture among them. Bake for 12-15 minutes. Mini tarts are perfect for brunch buffets or portion control.
5. Can I use canned apple pie filling?
You can, but fresh apples are strongly preferred. Canned pie filling is very soft and very sweet, and it often contains additives. If using canned, drain off excess syrup, pat apples dry, and reduce sugar to 1 tablespoon. The texture will be softer, and the tart will be sweeter. For best results, start with fresh apples.
This apple puff pastry tart is the dessert I make whenever I want to fill my kitchen with the scent of cinnamon and baked apples. It’s simple enough for a weeknight but special enough for Thanksgiving. The combination of flaky pastry, tender apples, and golden honey is pure comfort. Make it once, and it’ll become a regular in your rotation. Happy baking from PastryTest.com!