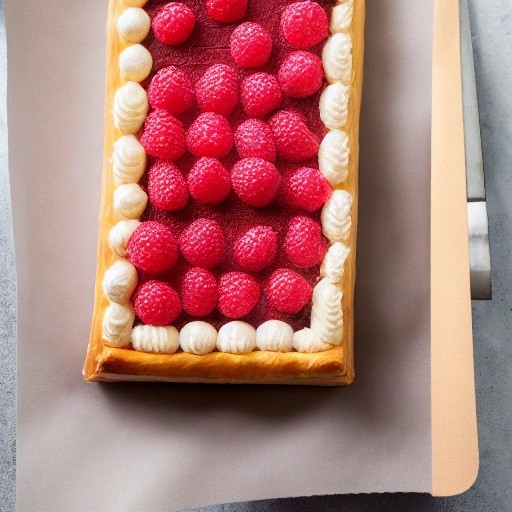
Decadent Chocolate Silk Puff Pastry Tart
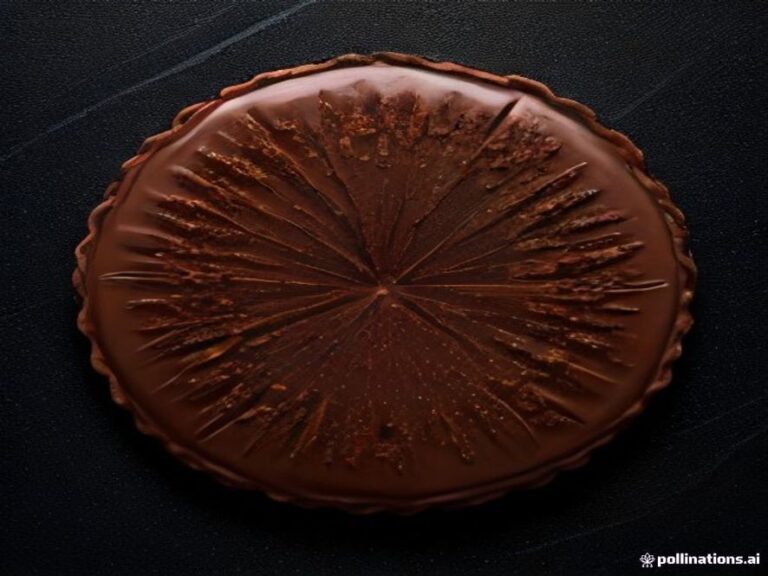
This chocolate silk puff pastry tart brings together two wonderful things—a buttery, flaky crust and a filling that’s impossibly smooth, rich, and intensely chocolaty. It’s a dessert that feels truly special, yet it’s surprisingly simple to make using store-bought puff pastry. The contrast between the crisp pastry layers and the velvety, melt-in-your-mouth chocolate filling is absolutely irresistible.
This recipe is inspired by classic French silk pie, which is famous for its uniquely silky texture. The secret to that luxurious “mouth feel” comes from the technique of beating eggs into the chocolate mixture one at a time for several minutes each . The result is a no-bake filling that sets in the fridge, making this an ideal make-ahead dessert for dinner parties or holiday gatherings.
Recipe Summary
Prep Time: 30 mins
Cook Time: 25-30 mins
Chilling Time: 4+ hours
Total Time: 5 hours
Servings: 8-10
Difficulty: Easy
Ingredients
- For the Puff Pastry Crust:
- 1 sheet puff pastry (about 320g), thawed overnight in the fridge
- 1 egg, beaten (for egg wash)
- For the Chocolate Silk Filling:
- 170g (6 oz) dark or bittersweet chocolate (60-70% cacao), chopped
- 220g (1 cup) unsalted butter, softened
- 250g (1¼ cups) caster or granulated sugar
- 1 teaspoon vanilla extract
- 4 large eggs, at room temperature
- For the Topping (Optional):
- 300ml (1¼ cups) heavy cream
- 1 tablespoon powdered sugar
- Chocolate curls or shavings for garnish
How to Make a Chocolate Silk Puff Pastry Tart
Follow these simple steps for a perfectly crisp, creamy, and decadent tart.
- Preheat your oven to 200°C (400°F) . Line a baking sheet with parchment paper.
- Prepare the puff pastry crust. On a lightly floured surface, gently roll the thawed puff pastry to smooth out any creases. Roll it out to about ¼-inch thickness and transfer it to the baking sheet. You can keep it as a large rectangle for a slab tart, or cut it into individual squares for personal tarts .
- Dock and bake. Prick the pastry all over with a fork (this is called docking) to prevent it from puffing up too much in the centre . Brush the edges with beaten egg wash for a golden, shiny finish. Bake for 15-20 minutes, or until puffed and deep golden brown . Let it cool completely on a wire rack.
- Make the chocolate silk filling. Melt the dark chocolate in a heatproof bowl over a pan of simmering water or in the microwave in short bursts. Set aside to cool slightly .
- Cream the butter and sugar. In a stand mixer or with a hand mixer, beat the softened butter and caster sugar together for about 5 minutes until pale and fluffy .
- Add the chocolate. Pour in the cooled melted chocolate and vanilla extract. Mix until well combined, scraping down the sides of the bowl .
- Add the eggs. This is the crucial step for the silky texture. Add the eggs one at a time, mixing on medium speed for a full 5 minutes after each addition . Scrape down the bowl between each egg. The mixture will change texture, becoming thick, smooth, and glossy.
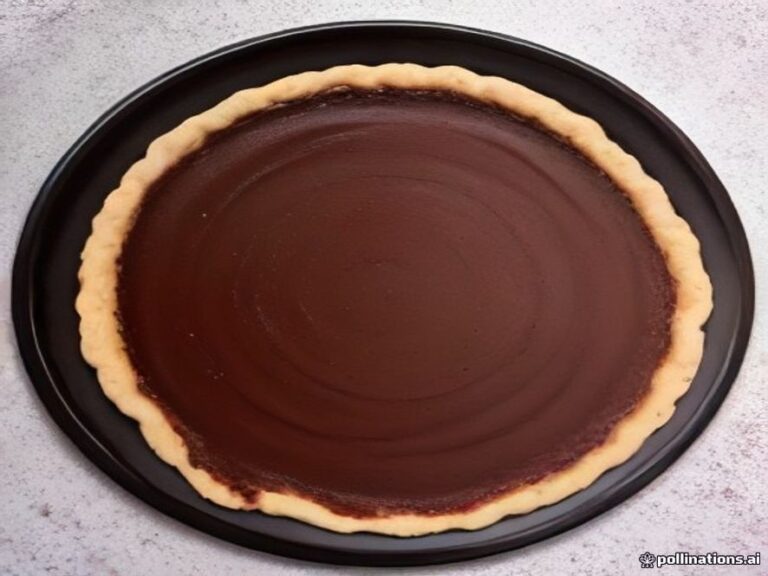
- Chill the filling. Pour the chocolate silk filling into the cooled pastry crust. Smooth the top with a spatula. Refrigerate for at least 4 hours, or until firm . You can speed this up by placing it in the freezer for an hour after an initial hour in the fridge .
- Make the whipped cream topping. In a chilled bowl, whip the heavy cream and powdered sugar until soft peaks form .
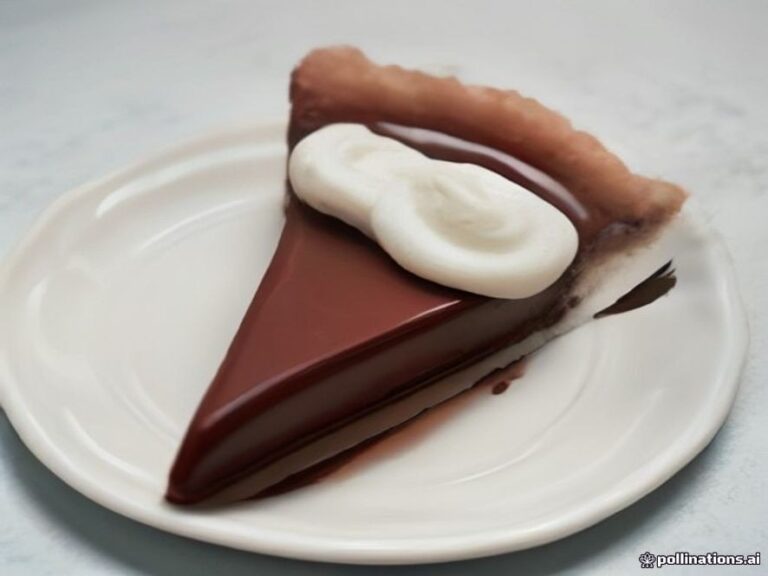
- Assemble and serve. Top the chilled chocolate silk tart with the whipped cream. Pile it in the centre and push it towards the edges . Garnish with chocolate curls or shavings. Slice and serve chilled .
5 Tips for the Perfect Chocolate Silk Tart
Use room-temperature ingredients. Ensure your butter and eggs are at room temperature before you start. This helps them emulsify properly, creating that signature smooth texture .
Don’t rush the egg mixing. Mixing each egg for the full 5 minutes is essential. It incorporates air and creates the emulsion that gives the filling its silky, non-grainy texture .
Chill thoroughly. Allow the full 4 hours (or more) for the filling to set. Slicing into a warm tart will result in a messy, runny dessert .
Prevent a soggy crust. Make sure your puff pastry is fully baked and cooled before adding the filling . You can also brush the baked pastry shell with a thin layer of melted chocolate to create a moisture barrier .
Make it ahead. This tart is a fantastic make-ahead dessert. The chocolate silk pie can be prepared up to two weeks in advance and stored in the refrigerator, tightly wrapped .
3 Delicious Variations to Try
Raspberry Chocolate Silk Tart. Before adding the chocolate filling, spread a thin layer of seedless raspberry jam on the cooled pastry. The tartness of the raspberry cuts through the richness of the chocolate beautifully .
Sea Salt Chocolate Silk Tart. For a sophisticated sweet-salty twist, sprinkle a little flaky sea salt over the chocolate filling just after pouring it into the crust, and again on top of the whipped cream before serving .
Individual Chocolate Silk Tarts. To make individual servings, cut the puff pastry into smaller squares or rounds and bake them separately. Fill each with the chocolate silk mixture and top with whipped cream .
How to Store
Store the chocolate silk tart in an airtight container in the refrigerator. Properly stored, it will keep for up to 2 weeks .
For the best flavour and texture, remove the tart from the fridge about an hour or two before serving to let it come to room temperature .
Frequently Asked Questions
Can I use a different crust?
Absolutely. While this recipe uses puff pastry, you can also use a classic shortcrust pastry or a chocolate cookie crust. Just make sure to blind-bake it before adding the filling .
Why is my filling grainy?
A grainy texture usually means the eggs weren’t mixed in long enough, or they scrambled from the heat of the melted chocolate. Ensure your chocolate is cool before adding it to the butter mixture, and mix each egg for the full 5 minutes .
Can I use milk chocolate?
Yes, you can substitute milk chocolate for a sweeter, milder flavour. The texture will still be silky, but the overall taste will be less intense .
Is this recipe safe to eat with raw eggs?
This recipe uses raw eggs in a no-bake filling. The high ratio of butter and sugar to eggs is considered safe by many, but if you’re concerned, you can use pasteurized eggs .